.svg)


.svg)

Windows Server
Overview
The Windows Server Integration allows Cywift to securely connect with Windows Server systems to collect asset inventory, configuration details, local security policies, patch status, service information, and hardening evidence.
Before starting the integration, ensure the following:
• Windows Server access
• Administrator or read-only audit account
• WinRM enabled on the server
• Firewall configured to allow WinRM connections
• Server hostname or IP address
• Collector configured in Cywift
Step 1: Prepare Windows Server Access
- Log in to the Windows Server.
- Enable a supported remote management method:
- • WinRM
• PowerShell Remoting
• Cywift Collector-based access - Create a dedicated service account for the integration.
- Grant the account the following permissions:
- • Local read access
• Security policy read access
• Event Log read access
• WMI query access
• Patch and service inventory access
Important Notes:
• Use a dedicated service account for the integration
• Avoid using Domain Administrator credentials whenever possible
• Restrict remote access to trusted collector IP addresses
• Enable encrypted WinRM communication
Step 2: Navigate to Integrations in Cywift
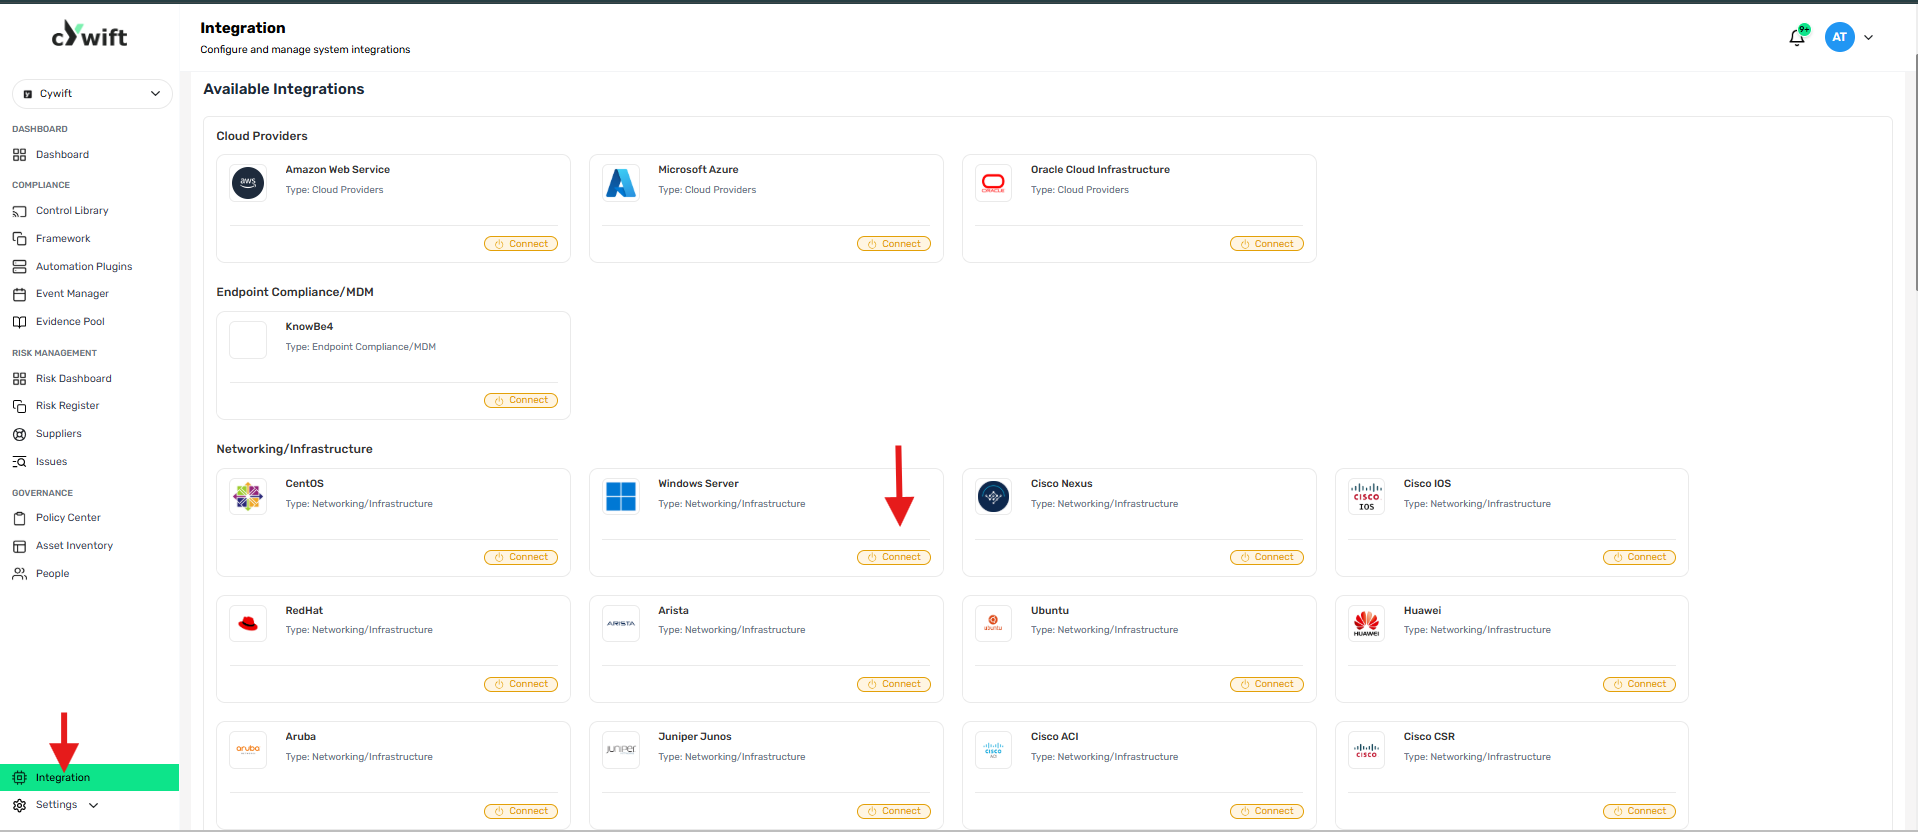
• Log in to the Cywift Platform
• Navigate to Integration
• Select Networking/Infrastructure
• Choose Windows Server
• Click Add Integration
Step 3: Add Individual Integration
Use this option when integrating a single Windows Server.
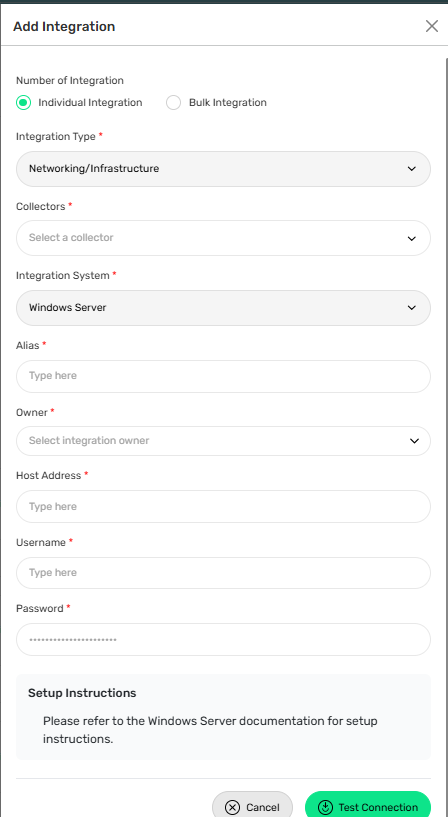
Required Fields:
• Select Individual Integration
• Select Windows Server from Networking/Infrastructure
• Select a configured Collector
• Enter an Integration Alias
• Select an Integration Owner
• Enter the Server Hostname or IP Address
• Enter the Username
• Enter the Password
Step 4: Add Bulk Integration
Use this option to integrate multiple Windows Servers.
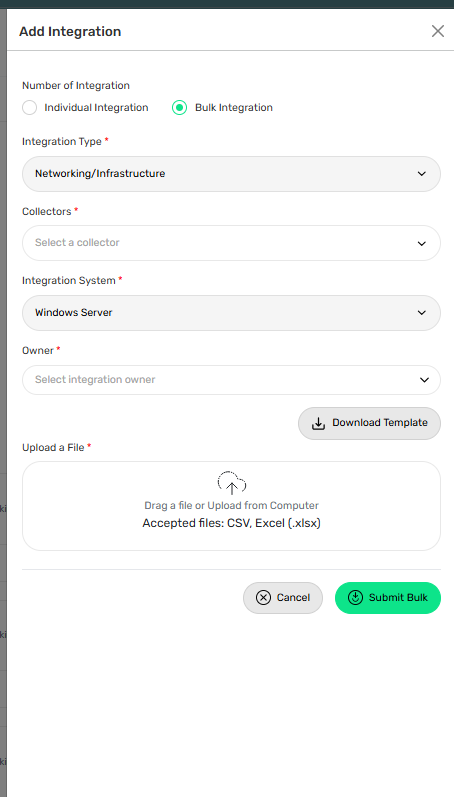
Steps:
• Select Bulk Integration
• Download the template
• Enter the required server details and credentials
• Upload the completed file
• Click Test Connection
• Save the integration
Troubleshooting Tips
• Verify the hostname or IP address is correct
• Confirm WinRM is enabled on the server
• Check firewall rules allow WinRM traffic
• Validate the username and password
• Ensure the service account has the required permissions