
.svg)


.svg)

Overview
The MikroTik Integration allows Cywift to securely connect with MikroTik routers via SSH to collect configuration, security, and compliance-related data. This integration helps automate monitoring, improve visibility, and support compliance requirements.
Before starting the integration, ensure the following:
- Administrative access to the MikroTik device
- Device hostname or IP address
- Valid SSH username and password
- Network connectivity between Cywift and the MikroTik device
- SSH service enabled on the MikroTik device
Step 1: Create Read-Only SSH User
Cywift uses SSH for secure communication. A read-only user is required to ensure secure and non-intrusive access.
Create Read-Only User
Log in to the MikroTik terminal and run:
/user add name=<username> password=<password>group=read
Verify SSH Service
Check if SSH is enabled:
/ip service print
If SSH is disabled, enable it:
/ip service enable ssh
(Optional) Restrict Access
Restrict the user to a specific IP address:
/user set <username> address=<allowed-ip>
Test SSH Access
From a remote system:
ssh <username>@<mikrotik-ip>
Validate Read-Only Access
After login, run:
/interface print
Attempting configuration changes should fail, confirmingread-only access.
Important Notes:
- The read group allows viewing configurations only
- Use strong credentials for security
- Restrict access by IP for production environments
Step 2: Navigate to Integrations in Cywift
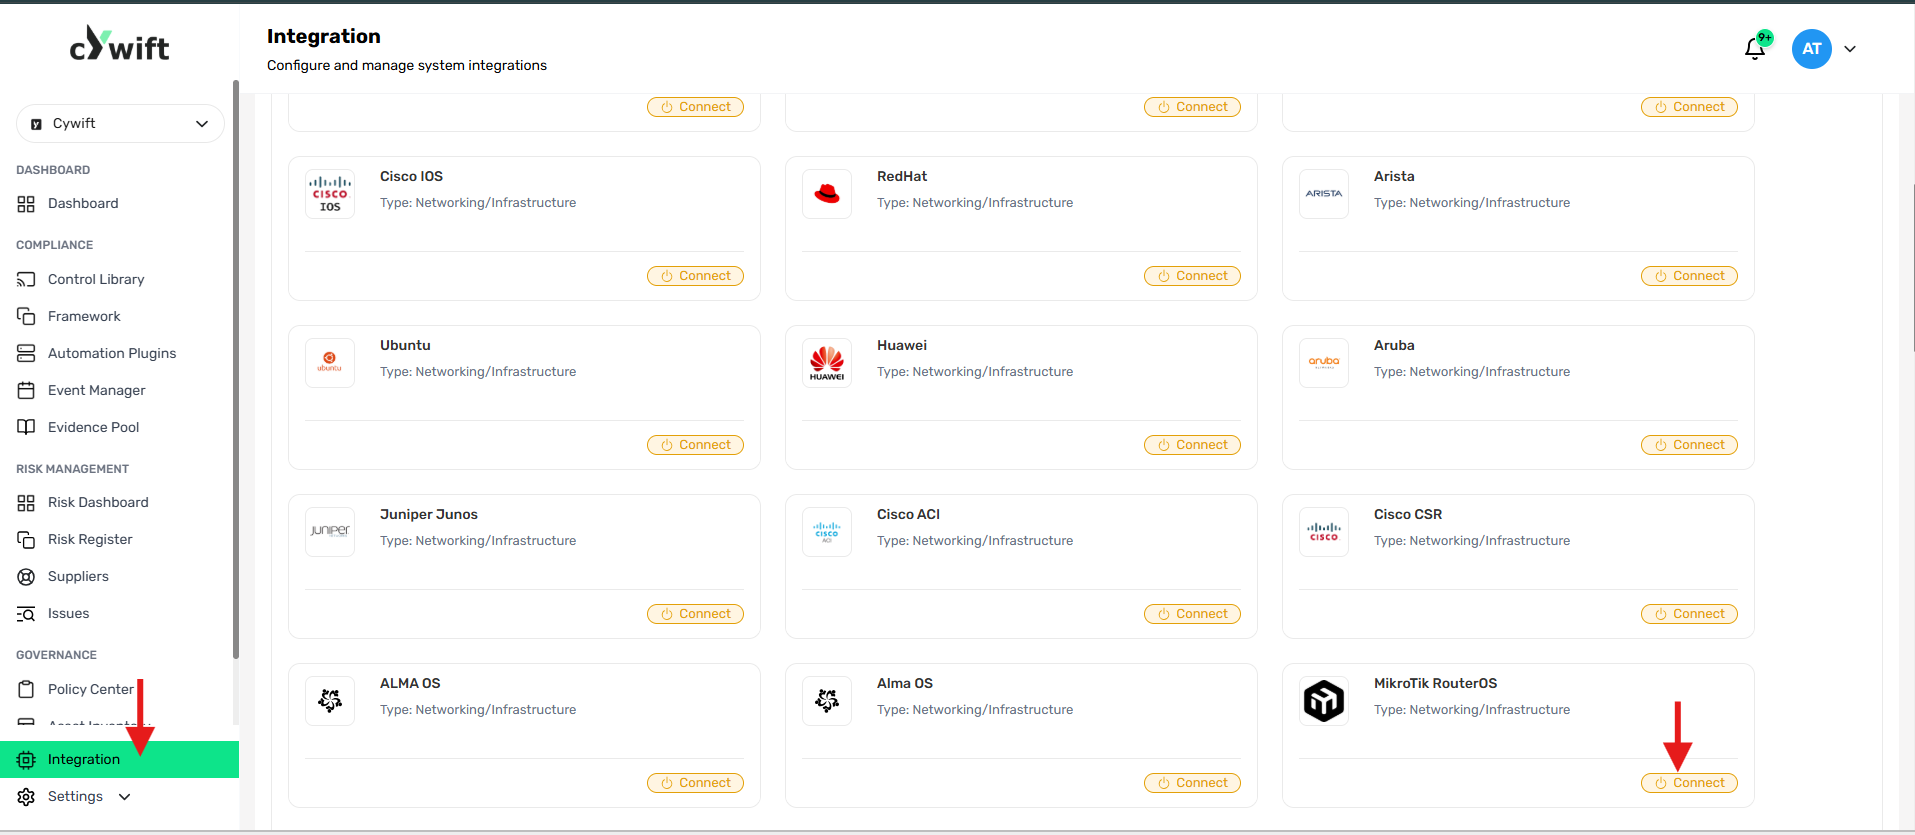
- Log in to the Cywift Platform
- Go to Integration from the left menu
- Under the Networking/Infrastructure
- Select MikroTik
- Click Connect
Step 3: Add Individual Integration

Use this option when integrating a single MikroTik device.
Required Fields
- Number of Integration
Select Individual Integratiom
- Integration Type
Select appropriate type (e.g., Networking/Infrastructure)
- Collectors
Select a configured collector
- Integration System
MikroTik
- Alias
Enter a friendly name for the integration
- Owner
Select the integration owner
- Host Address
Enter the MikroTik hostname or IP address
- Username
Enter the read-only SSH username
- Password
Enter the corresponding password
Actions
- Test Connection
Verifies SSH connectivity and Authetication
- Cancel
Discard Configuration
Step 4: Add Bulk Integration

Use this option to integrate multiple MikroTik devices atonce.
Steps
- Select Bulk Integration
- Choose Integration Type (Networking/Infrastructure)
- Select Collectors
- Choose Integration System: MikroTik
- Click Download Template
- Fill in the template with required device details
- Upload the completed file
- Click Test Connection
Troubleshooting Tips
- Ensure SSH service is enabled on MikroTik
- Verify username and password are correct
- Confirm the user has read group permissions
- Check network connectivity between Cywift and MikroTik
- Ensure firewall rules allow SSH access (default port 22 or custom)
- Verify IP restrictions (if configured) are not blocking access
