
.svg)


.svg)

First Login to Cywift Platform
Overview
The Admin Workspace Setup is the first onboarding flow you see after logging into the Cywift GRC Platform for the very first time. This guided process helps administrators create their initial workspace, activate licensing, upload controls, select frameworks and and overall tenant configuration. Once completed, the system automatically takes you to your dashboard to begin using the platform.
First Login Steps
Step 1
- Go to the Cywift login page.
- Type your registered email address and password
Example: admin@cywift.com
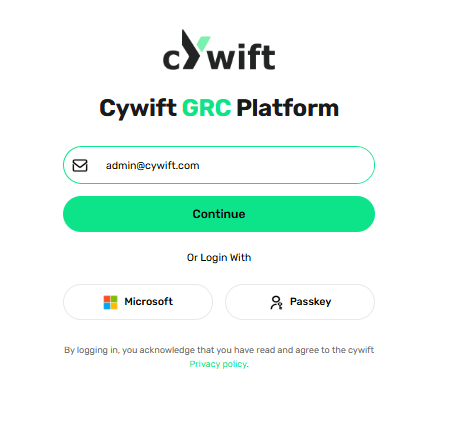
- Click Continue.
- Now Follow the next steps to access dashboard.
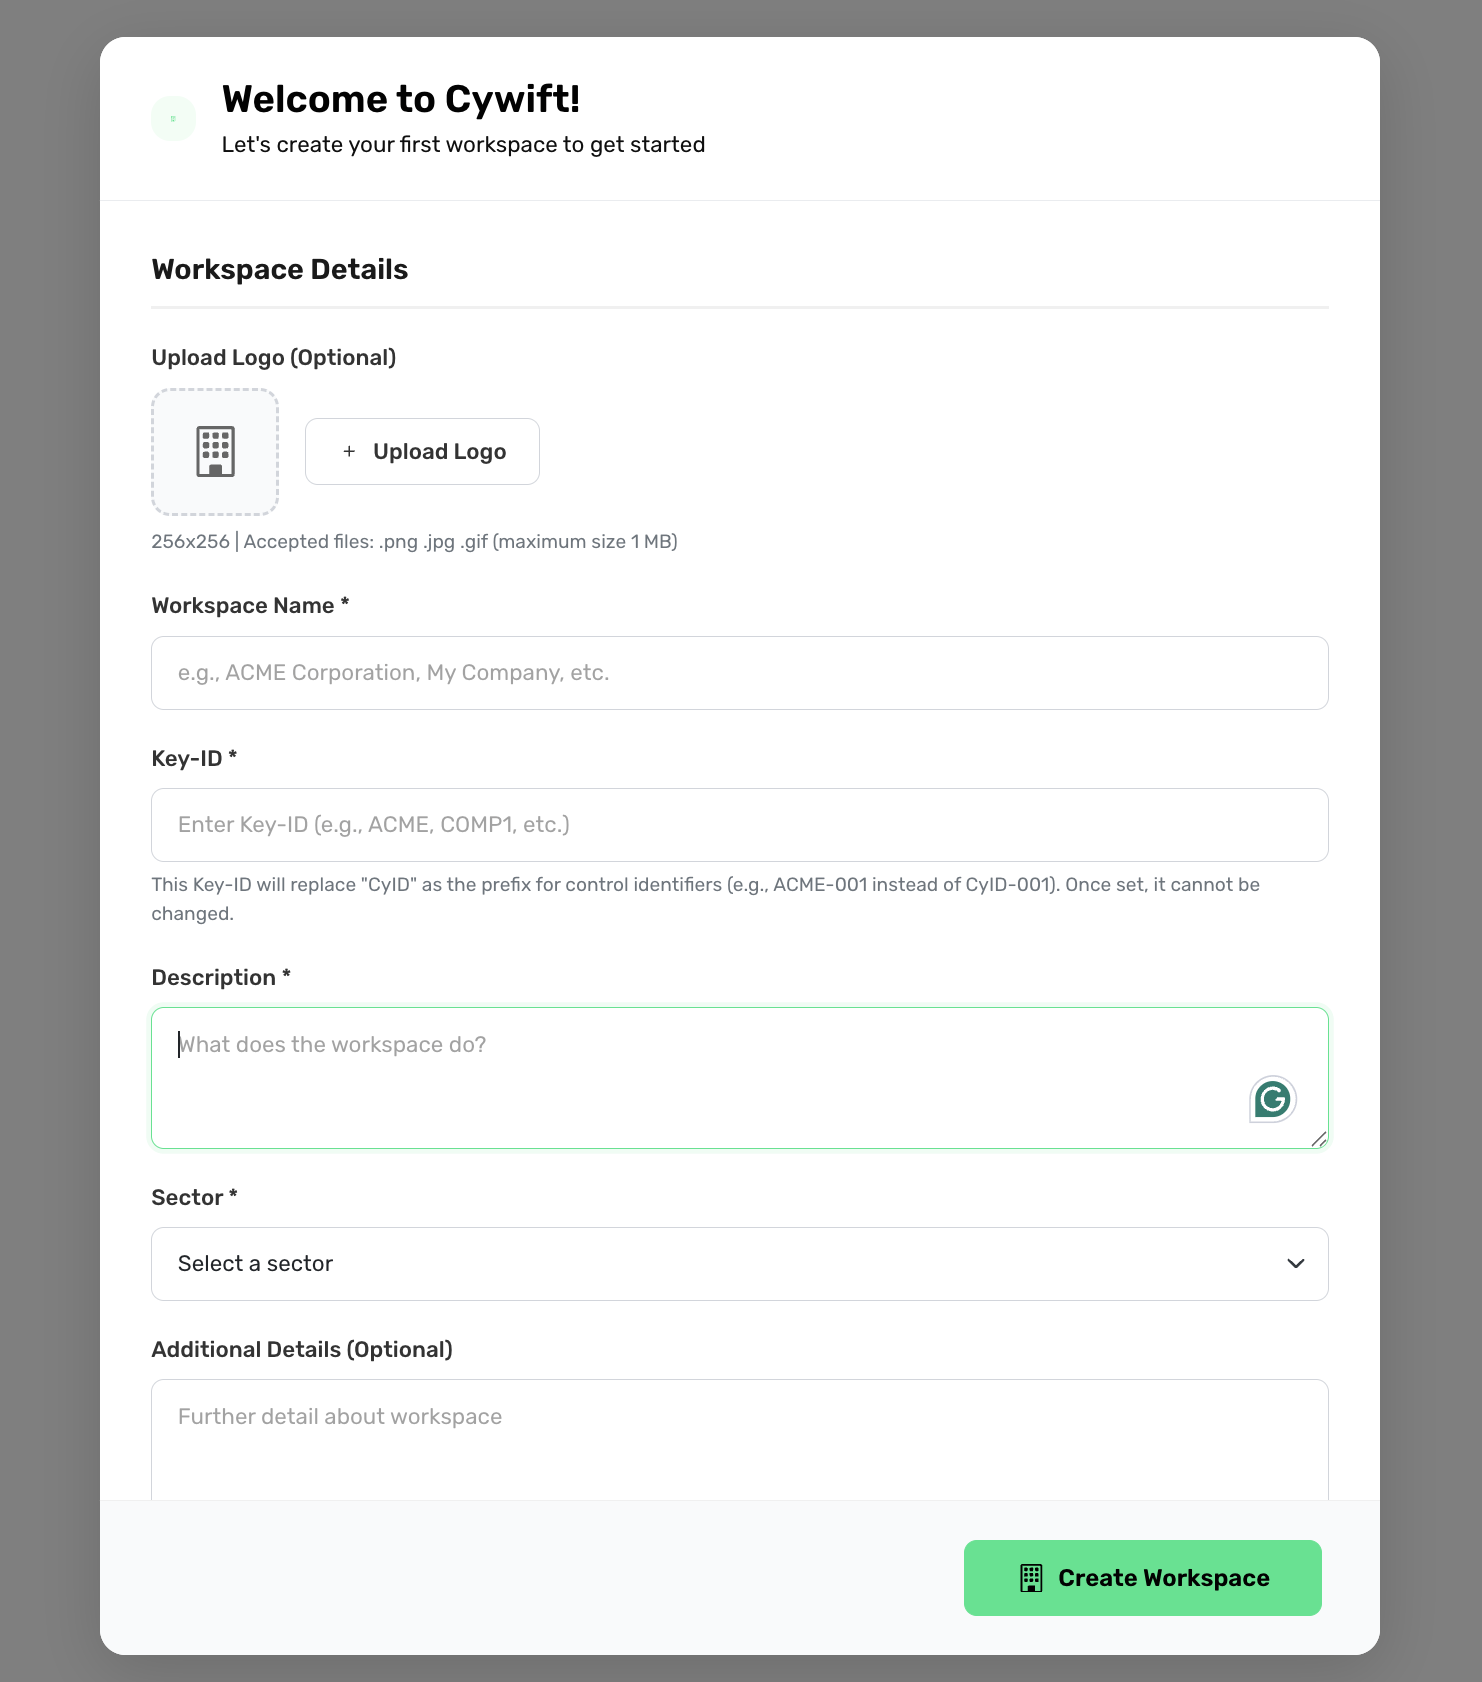
Step 2:Workspace Details
1. Upload Logo (Optional)
Upload a 256×256 company logo (.png, .jpg, .gif, max 1 MB).
2. Workspace Name*
Enter your company or workspace name (e.g., ACME Corporation).
3. Key-ID*
A unique prefix for all control IDs (e.g., ACME → ACME-001).
This cannot be changed once saved.
4. Description*
Add a short description of what this workspace is for.
5. Additional Details (Optional)
Add any extra notes or context about the workspace.
Create Workspace
After entering the details, click Create Workspace to continue to the next step.
Step 3: Activate License for Workspace
After creating the workspace, you will be asked to activate your license.

3.1 Generate Seed Key
- Click Generate → a unique seed key will appear.
3.2 Email the Seed Key
- Send this seed key to license@cywift.com.
- Cywift will return your License Key.
3.3 Enter License Key
- Paste the received license key into the License Key field.
- Click Activate & Continue.
Step 4: Add Controls to Workspace
You will now see the Add Controls screen.

Option A – Upload Controls File
- Upload an Excel or CSV file containing your controls.
- Click Upload & Continue.
Option B – Skip This Step
If you don’t want to add controls now, click Skip This Step.
Note: If you skip, your workspace will be created without controls.
Step 5: Add Frameworks
After controls, you will see the Add Frameworks screen.

You can:
Option A – Upload Framework File
- Upload a framework mapping file (Excel/CSV).
- Click Upload & Continue.
Option B – Skip This Step
Click Skip This Step to add frameworks later.
Note:Skipping means no frameworks will appear in the dashboard until added.
Step 6: Access Dashboard
Once you complete or skip the setup steps, you will be redirected to your Cywift Dashboard.
- If you uploaded controls → you will see them.
- If you uploaded frameworks → they will appear under Frameworks.
.png)
If you skipped → your dashboard will be empty until you add items manually.
.png)
